

how to draw sea foam photoshop
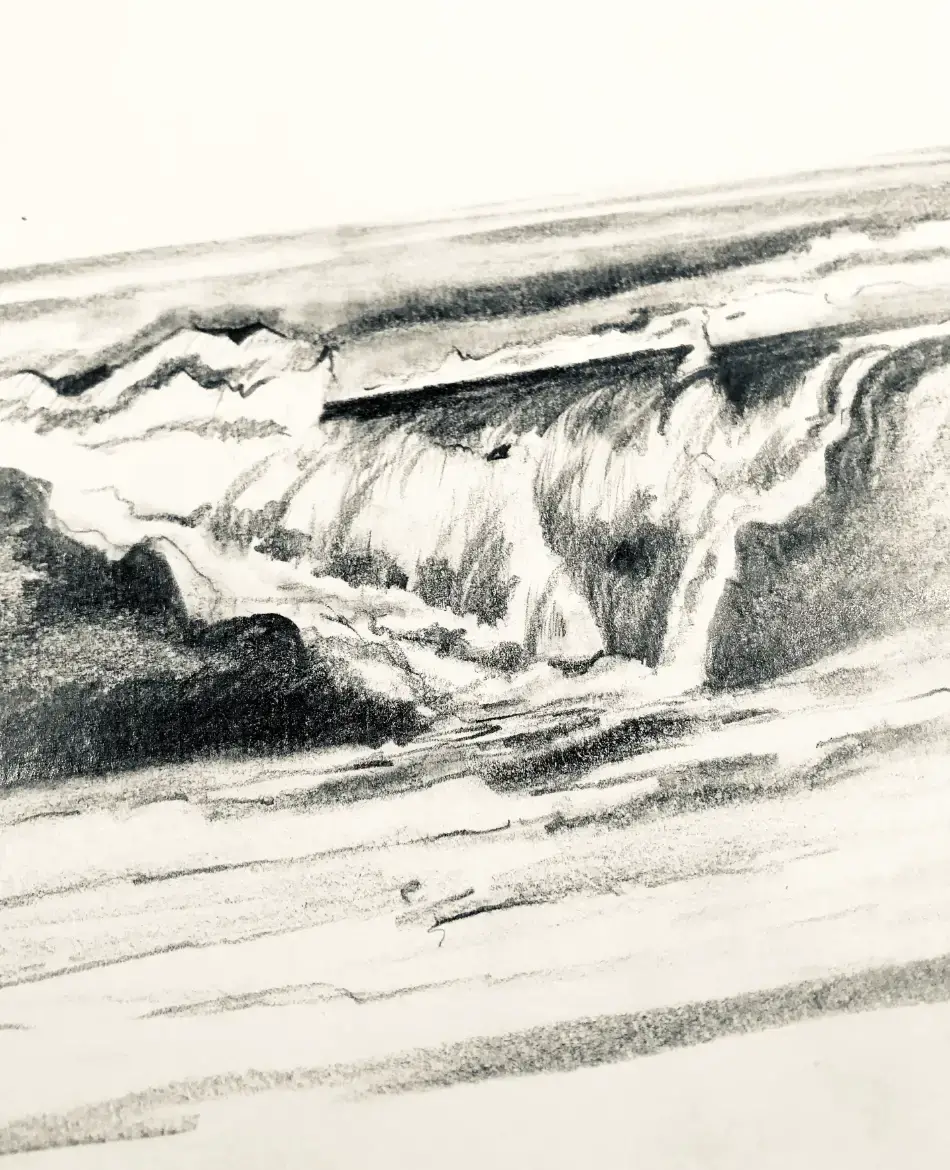
Drawing in pencil has an advantage with certain organic shapes we encounter in nature. Learning how to draw seafoam isn't as hard every bit you think it might exist. Here is how y'all tin become this effect when drawing waves that are frothing-up from the surf.
How To Describe Sea Foam in Pencil
The ocean is a powerful source of countless energy that comes from crashing waves. These waves are carried across the ocean through winds and random weather patterns. As the waves are oftentimes minimal (far off the coast), they proceeds momentum and are forces to crash at the shore as they reach the shore. This is because the gradual shoreline is shallower than it volition be in open waters.
The seawater that hits rocks and is mixed together with sediment will create frothy-looking patterns in the waves. Merely to draw seafoam is going to require some pointers that volition aid you become a realistic look.
• Study Real Waves From Pictures
The easiest part of seeing what ocean foam looks like in waves is easier when looking at crashing waves' pics. In that location is no shortage of ocean wave pictures that give you an idea of what this looks like. Information technology substantially looks like a stringy chain-link argue that's loosely floating on the surface of the water. You can use a pencil and a decent eraser to depict in these patterns in crashing breakers or bounding main swells.
• Use a White Pencil for Good Highlights
To heighten any pencil drawing, you should use a white pencil that gives yous more than power to make your foam appear dimensional. Equally if you're cartoon a cloud, there volition exist a shadow point that shows up on barm and seafoam. You lot can further add glistening high spots that make your cream wait like reflecting bubbling. A white pencil is also good at creating the unmistakable sea mist that hangs above crashing breakers.
How to Draw Waves on the Beach

After a wave crashes at the shore, it starts to get very foamy and frothy. If the status is very harsh, such as crashing on rocks, this froth will stick around for a while. Some sections even have big masses of foam that are whipped upward like choppy-looking whipped foam. Depending on how yous want to compose a crashing wave, seafoam'due south chemical element tin aid see the idea of movement too.
• Getting the Concatenation-Link Event
Long ago, when I started to paint organic skin, I learned a lesson while trying to copy an organic animate being mottle. My supervisor on the job notices the mottling was looking too 'concatenation-link,' which didn't fit that creature'due south nature. But the concept would have worked perfectly for sea waves instead. The hole-and-corner lies with cartoon loose sections of long lines that have opposing cross-hatching. This is why it ends upwards looking like a concatenation-link contend.
If you are using a pencil, these lines need to be outlined to stand up out better. The edges shouldn't be hard since it'southward seafoam. Ensure all your cross-link-looking shapes are randomly spaced, so it doesn't wait connected to each foamy strand.
• Softening Edges Using a Blending Stump
The chain-link-looking sections often appear on the crest of a crimper wave or on the top of approaching waves will need some softening. Y'all can use a blending stump to buffer the edges and eventually an eraser if you lot add shadow within the wave itself. After this, it's a affair of tweaking these seafoam masses with bits of white pencil highlight. The trick is to give your foamy water appear to accept a faint shadow.
• Drawing Bubbles and Sea Cream
Bubbles are easy to draw since these are series of spots that are like cartoon clouds. Don't draw circles since this volition look lightheaded and childish. Just stick to smaller concentrated white spots that join together to course a mass. Using a white pencil, you can as well do light doodles with random patterns to build-up the desired shape. Patterns can be added to the base of a crashing moving ridge with piddling bits of white spots flying upwards to correspond splashing foam.
Related Posts Y'all May Want to Read:
- How to Depict Landscapes in Pen and Ink
- How to Draw Realistic Pelting
- Pen and Ink Drawings of Water
- How to Draw Clouds with Pen
How to Depict Waves and Ocean Foam
Waves all follow a curved tube that begins at the base of the incoming water and curls over. There isn't much to them except the angle you run into the waveform. This is related to perspective and will make all the divergence if you are looking over a seaside cliff or on the embankment directly. Which side of the moving ridge you are standing on matters too, and so this also determines an incoming wave'south angle curve.
• Determine the Curve of a Wave
Is the wave being viewed from the left or right side will add entreatment merely certainly needs perspective to make it look correct. Utilize reference pictures for the type of wave you want to make. Afterward this, you lot can create curved lines to represent the ringlet of a moving ridge. Which cease of the sea is crashing on the shore or not. Every moving ridge has a gravity effect that looks better if you show the wave is still in motion.
1 portion of the wave should still be cresting while the other finish might have already cashed onto the shore. But like telling a story, you demand to allow your viewer know this moving ridge is doing something.
• Add Your Bounding main Foam
The curved lines of your wave play an important part in adding the seafoam into the water. Use these curved lines to plot out where stringy-looking cream is seen and curve them, so it bends in the same direction as your curling wave. It will exist better to add a darker shadow at the base of your wave, with the superlative crest lighter. Shade carefully around your foam patterns and use the blending stump as needed.
When you are done, y'all can then go back and add a white highlight pencil to brand your cream and crashing moving ridge spray stand out.
Terminal Discussion
If you don't live anywhere near the ocean, your all-time bet is to study photographs on the net. There are many stock photo reference sites you can collect ideas from. Copy and save these pictures on your figurer or whatever wave looks interesting. These will come in handy afterwards for cartoon your waves and seafoam.
This site is owned and operated by Improvedrawing.com. Improvedrawing.com is a participant in the Amazon Services LLC Associates Plan, an affiliate advertizing program designed to provide a means for sites to earn advertizement fees by advertising and linking to Amazon.com. Improvedrawing.com as well participates in affiliate programs with Clickbank, CJ, ShareASale.

Source: https://improvedrawing.com/how-to-draw-sea-foam/
Posted by: ruckersoetted.blogspot.com
0 Response to "how to draw sea foam photoshop"
Post a Comment